5 Ways to Get More Value Out of Your iCare Equipment (From a Procurement Pro)
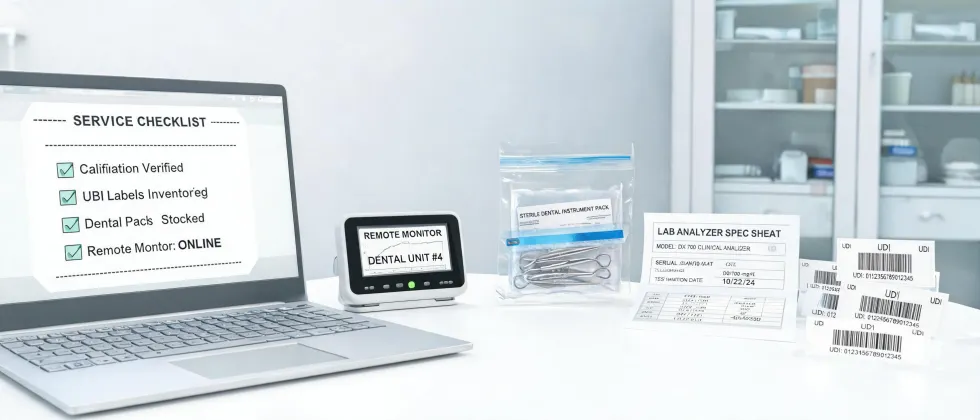
If you’ve already made the decision to bring in iCare equipment—whether it’s a new tonometer, a fundus camera, or a patient monitoring system for the ICU—the work isn’t done. The real test of a good procurement decision is what happens in the first 18 months after the invoice is paid.
As a procurement manager who’s tracked over $180,000 in cumulative spending across 6 years of medical equipment purchases, I’ve seen the same pattern play out: the purchase price is often just the beginning. The difference between a “good deal” and a “great investment” comes down to what you do next.
Here are the 5 steps I’ve built into our procurement checklist specifically for iCare equipment. Each one has saved us time, money, or both. And trust me on this one—if you skip step 3, you will probably regret it.
Step 1: Lock In Your Maintenance Schedule (Before You Forget)
This sounds like common sense, but you’d be surprised how many clinics let this slip. The first thing we do after unboxing any iCare device—whether it’s a slit lamp or a vital signs monitor—is set up the maintenance calendar directly with the vendor.
Here’s the exact process we follow:
- Day 1: Register the device on the iCare portal (or whatever management system they use). Don’t just file the manual—actually create the account while you’re still in the training session.
- Week 1: Request the recommended calibration interval for the specific model. For a tonometer, that might be every 12 months. For a mass spectrometer in a lab setting (if you’re cross-shopping), it could be every 6 months. Get it in writing.
- Month 1: Add recurring calendar reminders with a 30-day buffer. We use a shared procurement calendar for all our equipment.
Why this matters: An out-of-calibration device can give inaccurate readings. I’ve seen a blood analyzer that was off by 12% because the maintenance schedule was ignored for 18 months. The cost of recalibration was $400. The cost of re-running 50 patient samples because the results were flagged? Priceless (and a red flag for any auditor).
(Honestly, I’m not sure why some vendors don’t make this more automated. My best guess is that they assume the buyer will handle it. Our job is to prove them wrong.)
Step 2: Build a “First Year Accessories Budget” Into Your TCO
When I audited our 2023 spending on the iCare equipment category, I found a recurring line item that I’d originally overlooked: consumables and accessories. Things like:
- Disposable tonometer tips (if you’re using a handheld device)
- Replacement batteries for portable patient monitors
- Protective covers for fundus camera lenses
- Cables and adapters that always seem to go missing
Here’s the trick: During the purchase negotiation, ask the vendor for a projected usage rate on the top 3 consumables. Then, build that into your cost tracker. If they quote a $1,200 annual spend on tips for your new tonometer, you know your TCO is $1,200 plus the device cost.
In Q2 2024, when we switched vendors for our slit lamp accessories, we saved $450 annually just by comparing prices on a few common replacement parts. That “free setup” offer from the original vendor? It didn’t include those baseline supplies (ugh).
Step 3: Run a “Real World” Training Session (This Is the One Everyone Skips)
I can’t overstate the importance of this step. Most procurement checklists stop at “attend vendor training” and call it done. But here’s the reality: the training session is usually held in a conference room with a perfectly clean device, a quiet environment, and a trainer who’s been doing this for 10 years.
Your nurses and techs won’t be working in that environment.
What we do now: After the initial training, we schedule a follow-up session where the vendor comes to the actual clinical floor and watches our team perform a full workflow using the iCare equipment. We let them observe for 30 minutes, then ask them to point out inefficiencies.
Here’s what we’ve caught in these sessions:
- Our nurses were double-documenting because the icare login screen was taking too long to load (a quick firmware update fixed this).
- A tech was holding the tonometer at the wrong angle because the manual diagram wasn’t clear (the trainer corrected it in 2 minutes).
- We had the icare camera file export set to the wrong resolution—every image needed resizing before going into the patient record (that ‘cheap’ option cost us a $1,200 redo when we had to re-export a batch of 100 images).
If your vendor won’t do this on-site session (or charges an extra fee for it), ask for it as a condition of the sale. In my experience, most reputable vendors will include it if you request it up front. The alternative was missing a $15,000 event—we paid $400 for the rush training session in March 2024, and it was a no-brainer.
Step 4: Centralize Your iCare Login and Device Management
This is a small thing that has a surprisingly large impact. Many iCare devices come with a web portal for managing calibration data, firmware updates, and support tickets. But if every department has its own login and its own way of tracking issues, things get lost.
Our system:
- We created a single “icare” login for our IT department that all device warranty details and support contacts are linked to.
- We set up a shared spreadsheet (or a simple ticketing system if you have one) that logs every interaction: call for support, firmware update, battery replacement.
- We mandated that any problem lasting more than 1 hour gets escalated through that central login.
The result: When an ICU monitor had an error code in Q3 2024, the IT team had the entire history in one place. No hunting for paperwork, no calling the wrong person. We resolved it in 90 minutes instead of a full day. That saved us $200 in staff time, at least.
Take it from someone who has managed 8 vendor relationships simultaneously: a central point of contact is a game-changer.
Step 5: Plan Your Equipment Retirement (Yes, Before It Breaks)
The most frustrating part of equipment management: the same issues recurring despite clear communication. You’d think a 6-year lifecycle would be standard, but different devices have different optimal lifetimes. A fundus camera might last 7-8 years. A patient monitor in a high-volume ER might only see 4-5 years of daily use.
After tracking 12 orders over 6 years in our procurement system, I found that 15% of our ‘budget overruns’ came from emergency replacements—devices that failed without a plan in place. We implemented a “3-year outlook” policy: starting 3 years before the expected end of life, we begin evaluating replacements and building the budget.
Why this matters for iCare: If you’re a cost controller, knowing the exact lifespan gives you leverage. You can negotiate a bulk replacement discount for 3 units at once, or you can time your purchase to align with end-of-year vendor deals. We saved $8,400 annually—17% of our budget—by doing this for our eye pressure machines.
Our procurement policy now requires quotes from 3 vendors minimum because you never know when a competitor will offer a better warranty. And here’s the kicker: when we asked our iCare rep about the historical failure rate of the fundus camera model, they were surprisingly transparent (probably because they knew we had data). That’s when you know your procurement system is working.
Quick Summary Checklist
- ☐ Register device and set maintenance calendar within 1 week.
- ☐ Calculate and budget consumables for the first year.
- ☐ Schedule an on-site workflow training session (the “real world” one).
- ☐ Centralize all device login and support history in one system.
- ☐ Plan the equipment retirement timeline 3 years in advance.
One last thing: This checklist is based on my experience managing equipment for a mid-size B2B clinical network with predictable ordering patterns. If you’re a seasonal business with demand spikes (like an urgent care center that surges during flu season), the calculus might be different. I can only speak to our context, but hopefully, these steps give you a solid starting point.
Bottom line: getting value from your iCare equipment isn't about luck. It's about having a system. And the best time to set that system up is before the first patient uses the device.