How to Buy Medical Equipment for a New Clinic: A 7-Step Procurement Checklist
-
Who This Is For & When to Use It
-
Step 1: Separate 'Need to Have' from 'Nice to Have' — Then Cut the List by 30%
-
Step 2: Get Three Quotes, but Compare TCO, Not Sticker Price
-
Step 3: Validate the 'Free' Setup Offer
-
Step 4: Understand the Rush Fee Math (When It's Worth It)
-
Step 5: Check for Industry-Specific Requirements
-
Step 6: Set Up Your Procurement System Before You Buy
-
Step 7: Plan for the 'Not on the List' Item — The Finishing Touches
-
Common Mistakes to Avoid (Learned the Hard Way)
Who This Is For & When to Use It
If you're opening a new urgent care clinic, dental office, or an ophthalmic center, you are about to make some of the largest single purchases of your professional life. I've been on the buying side for six years—managed over 180 orders, negotiated with 50+ vendors, and analyzed about $180,000 in cumulative spending.
This checklist is for the moment between deciding what you need and signing the PO. It's built for situations where you have a hard opening date (even worse, a soft one that keeps moving) and a budget that doesn't stretch as far as you hoped.
Here are the seven steps I follow, which I've refined after getting burned on assumptions and celebrating the deals that actually worked.
Step 1: Separate 'Need to Have' from 'Nice to Have' — Then Cut the List by 30%
The trap: You see a catalog and start adding everything. A fundus camera, a dental CBCT, a top-tier anesthesia machine, and three different patient monitors.
The fix: Divide your list into three tiers.
- Tier 1: Equipment you cannot open without. (e.g., Defibrillator, ECG machine, basic sterilization unit)
- Tier 2: Equipment needed within the first 3 months. (e.g., Slit lamp, tonometer for an eye clinic)
- Tier 3: Downgrade or defer for 6+ months. (e.g., Surgical robot—seriously, lease it first)
I assumed we needed a top-tier ultrasound from day one. That was a mistake. We barely used it for the first four weeks. We could have rented it for a third of the purchase price. Learn from my overconfidence: defer the fringe stuff.
Step 2: Get Three Quotes, but Compare TCO, Not Sticker Price
This is where most buyers slip. Vendor A quotes $12,000 for a biosafety cabinet. Vendor B quotes $9,500. You want to sign with B immediately.
Stop. I learned this in Q3 2024 when I compared costs across 8 vendors for A. Vendor B's service contract was $400 more per year. Their shipping was not included. Their installation was an extra $600. Over three years, Vendor B was 22% more expensive.
"People think expensive vendors deliver better quality. Actually, vendors who deliver quality can charge more. The causation runs the other way."
Action: Create a simple spreadsheet. Include: List Price, Shipping, Installation, Training, Year 1-3 Service, Warranty specifics. This is your Total Cost of Ownership (TCO).
Step 3: Validate the 'Free' Setup Offer
Number of times a free setup cost us more than a paid one: Twice in six years. That's not a coincidence. In March 2023, we accepted a 'free installation' on a diagnostic imaging unit. The technician came, but he didn't have the mounting bracket. We had to pay $350 for an expedited bracket and wait three extra days.
The rule: Free setup is only good if the vendor is local or has a proven track record of showing up with everything they need. Otherwise, budget for a paid, guaranteed installation slot. You are paying for certainty, not just labor.
Step 4: Understand the Rush Fee Math (When It's Worth It)
A new clinic opening gets delayed. Suddenly, you have 2 weeks instead of 4 to get the equipment. The vendor offers a quote: "$400 extra for rush delivery." Is this a trap?
Here is my rule: In an emergency, pay for certainty. In March 2024, we paid $400 extra for rush delivery on a patient monitoring system. The alternative was missing a $15,000 event (we had a contract start date). The $400 was a bargain.
But— not all rush fees are equal. Some vendors charge a premium for the speed. Others charge it because the supply chain is unpredictable. Ask the vendor: "Is this a 'fast production' fee or a 'disruption to our schedule' fee?" The latter is often higher and riskier.
Caveat: If the rush order is needed because the vendor missed their quoted lead time, negotiate. Don't pay for their mistake. We did that once. Once.
Step 5: Check for Industry-Specific Requirements
This is specific to the mix in the brief: Orthotic braces, dental CBCT, defibrillators.
- For a dental CBCT: Verify the room shielding requirements. Not all units are equal. We almost bought a CBCT that needed a radiology-controlled area, which would have cost $3,000 in lead lining. Another model was self-shielded.
- For defibrillators: Don't assume your staff is trained on the latest model. Budget for a training session. A device you can't use is worse than having none.
- For orthotic braces (if you stock them): Sizing is critical. We assumed 'one size fits most' was fine. It was not. We had a 15% return rate in Q1 2024. We learned to order a sample first.
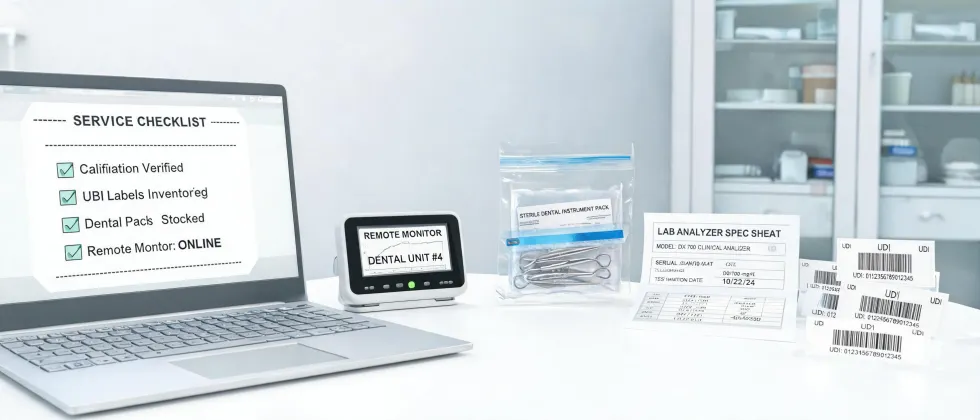
Step 6: Set Up Your Procurement System Before You Buy
This is the most boring but most important step. I've seen offices buy $20,000 in equipment and have no way to track the warranty, service contract, or invoice.
Before you place your first order:
- Create a master asset list (Name, Serial, PO #, Vendor, Warranty end date).
- Decide on a process for 'Emergency Buys' (e.g., a broken autoclave). Who can approve a spend over $500 without a PO? Get that in writing.
- Set up a 'Vendor Escalation' sheet. Who do you call at Vendor B if the delivery is late?
Step 7: Plan for the 'Not on the List' Item — The Finishing Touches
This is the step most checklists miss. The equipment arrives. It's beautiful. Then you realize you need a specific cable to connect the fundus camera to the network. And a shelf for the ECG machine. And a protective cover for the anesthesia machine.
Budget 5% of your total equipment spend for accessories. We didn't. We had to rush-order a $150 cable for $400 because we needed it the next day. A classic 'small item, big headache' moment.
Pricing is as of January 2025; verify current rates.
Common Mistakes to Avoid (Learned the Hard Way)
1. The 'Verbal Agreement' Trap. I assumed the delivery date was confirmed. The vendor thought '2-3 weeks' meant 3. They missed the deadline. Get it in writing.
2. The 'Sample is the Product' Trap. I assumed the proof we saw online was the final product. The actual unit was a different shade. We returned it. Cost us $200 in shipping. Always ask for a physical sample if possible, or a clear return policy.
3. Ignoring the Logistics. The vendor ships the pallet. Who unloads it? Where does it go? We had a 400lb autoclave delivered without a dock. We paid two movers $500 to get it inside. Plan your receiving process.
4. The 'Cheapest Option' Regret. The cheapest orthotic brace we bought had a 12% failure rate under the warranty. The replacement costs and customer complaints cost us more than the premium brand would have. Price is what you pay; value is what you get.
This was accurate as of Q4 2024. The medical equipment market changes fast, so verify current prices and policies before budgeting.